Remote control with gamepad or joystick

Overview

In the previous article we already presented the possibility to control up to eight servos via a USB interface using a joystick or gamepad, a PC and a PiKoder/SSC. Here is now described how a wireless model remote control can be realized with a PiKoder – receiver, the PiKoder/SSC RX. Bluetooth for command transmission.

Setup

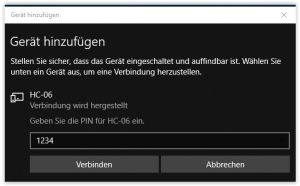
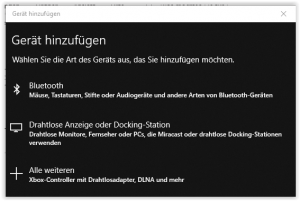
First, the PiKoder/SSC RX must be connected to the PC at the operating system level. For this purpose, you first search for new Bluetooth devices in the device control.

After a short time, the Bluetooth module of the receiver should be offered. The PIN is “1234”.

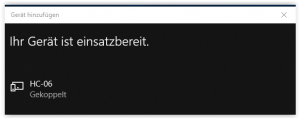
With the selection “Connect” the coupling (pairing) takes place on system level.

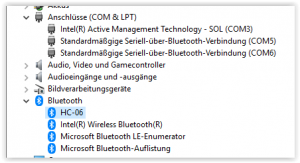
As the following view from the device manager shows, the coupling of the system also establishes two virtual serial interfaces, which we access later in the program for establishing a connection.

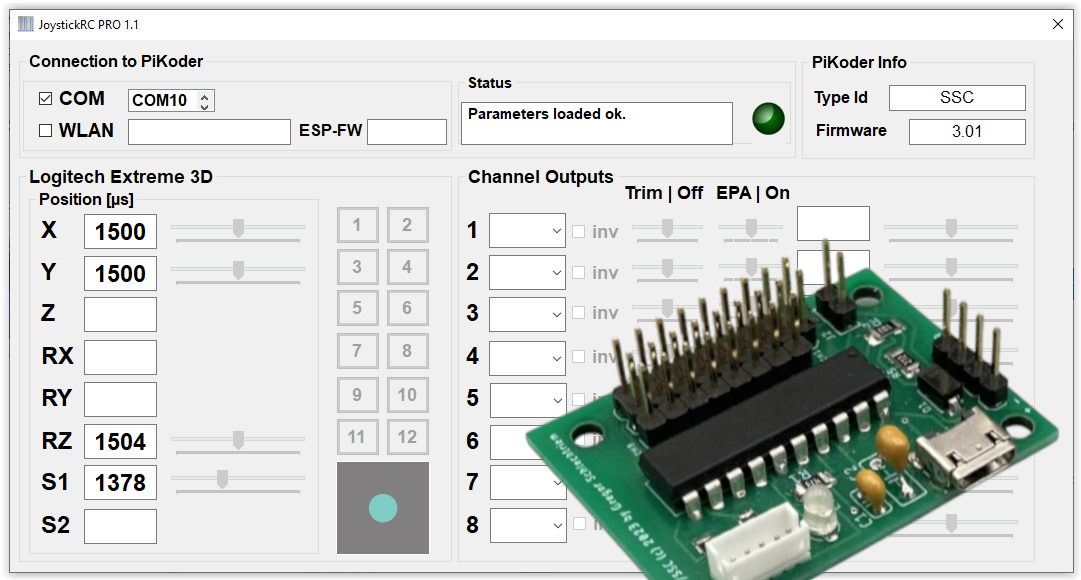
This completes the setup and the JoystickRC program can now be started as described in the previous post.
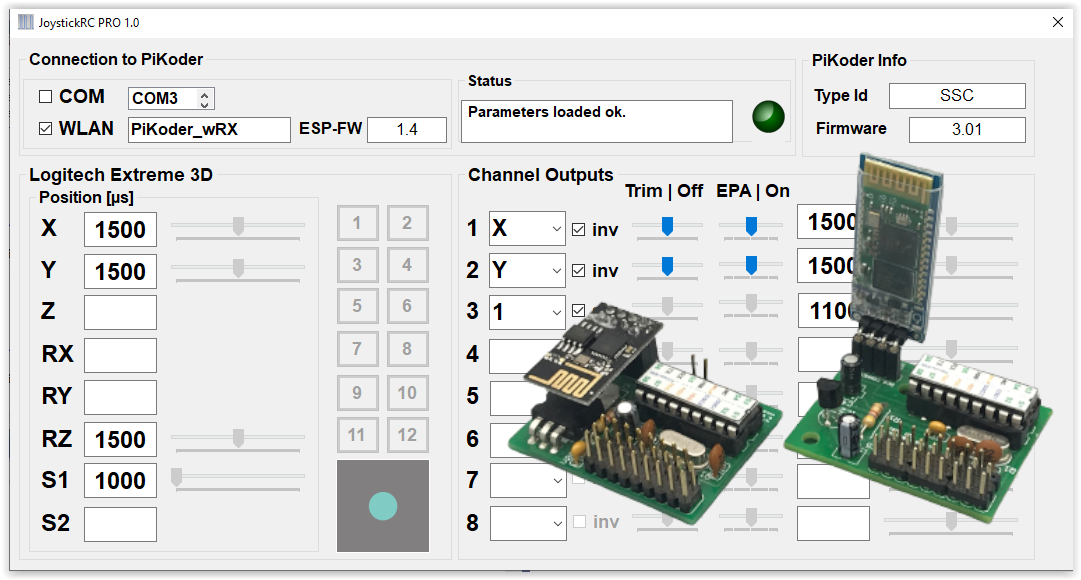
Control servos with gamepad or joystick

Overview

In the field of robotics, there is more often the need to control several servos, e.g. when realizing a robot arm. In this case, operation with a gamepad or joystick is ideal because the large number of axes / degrees of freedom enables efficient control of many channels.

This blog describes the setup to use the free Windows APP JoystickRC to control eight servos wired, e.g. for a robot arm.

The mapping of the axes and switches to the servo channels is done flexibly in the software. The actual pulse generation for the servos is done by a PiKoder Serial Servo Controller (PiKoder/SSC), which is connected to the PC via a USB adapter.

Setup

The setup is ideally done with the help of a PiKoder/SSC – development board and with a standard USB adapter. The PiKoder is supplied with power via the USB cable. Since the USB interface cannot supply enough power to control the servos, they must be supplied with an independent voltage source via the terminal strip. In order to prevent balancing currents that could damage the PC, the jumper must not be plugged into the PiKoder circuit board under any circumstances. More detailed information can be found in the PiKoder User Manual.


Connecting the USB cable to the PiKoder/SSC development board – please note that the jumper must not be plugged in.

Connecting the USB cable to the PiKoder/SSC development board – please note that the jumper must not be plugged in.

Software

The JoystickRC program is available free of charge from the Microsoft Store. You can find more instructions on how to use the program on the program’s website.