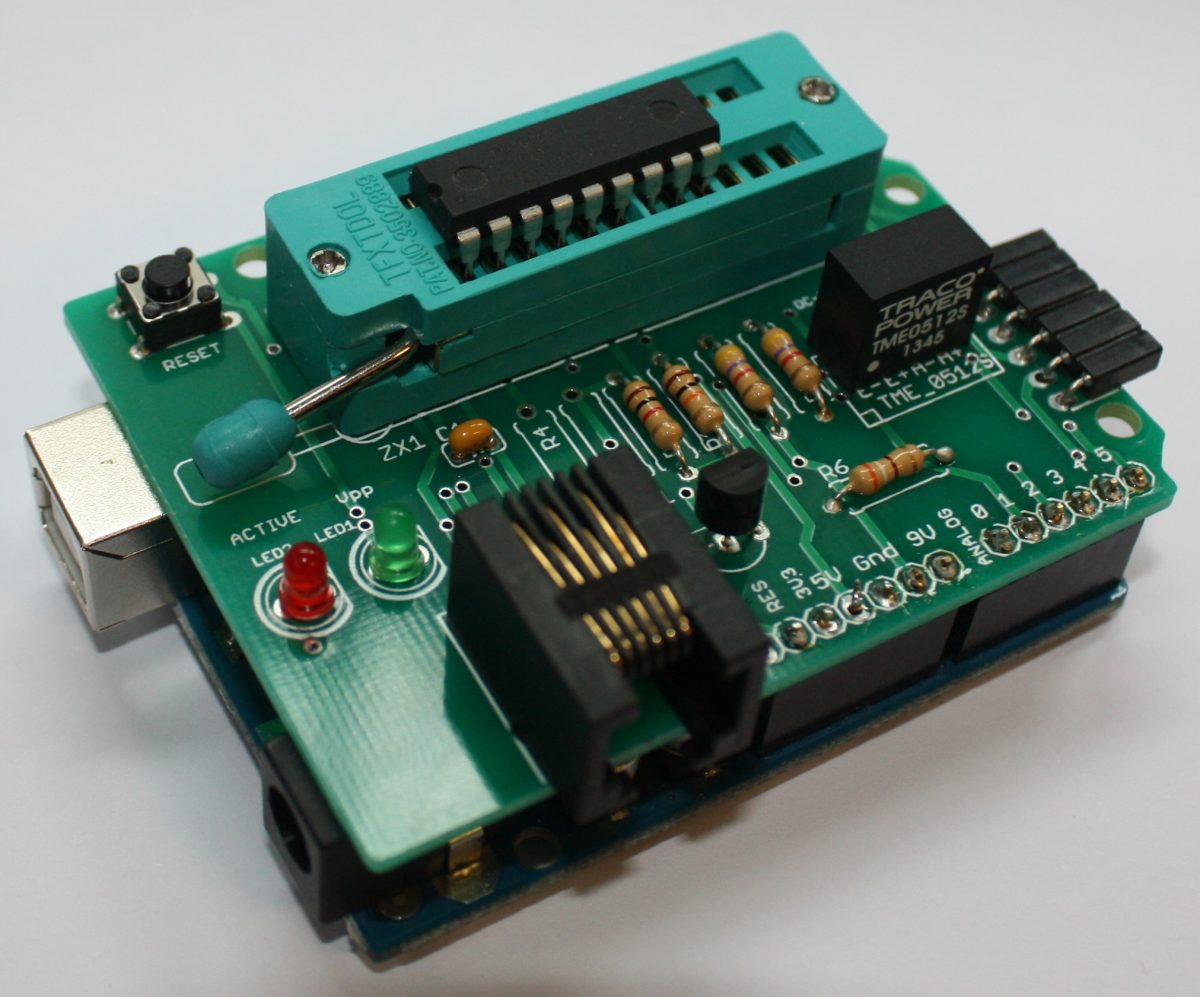
Arduino Pic Programmer

Overview

If you would search the internet you will find quite some DIY pic programmers. However, those designs often either require a true serial or parallel port instead of an easily available USB port or are designed around a pre-programmed controller assuming access to a programmer.

A compelling alternative would be the use of an Arduino as in the ArdPicProg. Load the Arduino sketch, the host program and add a prototype shield with a very limited number of additional components to build your pic programmer. This programmer features also a ICD connector and an RJ-11 jack (ICD2) interface. The complete project including hard- and software is open source and is released under the GNU General Public License Version 3. You can build your own ArdPicProg by using the especially designed PCB.

The complete setup and the application of the ArdPicProg is described in more detail in the User’s Guide.

Host-Software for ArdPicProg

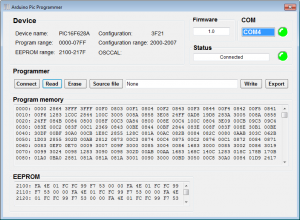
For programming a pic controller a host software would be required. You can select between two options: the terminal program “Ardpicprog” or the “Arduino Pic Programmer” (ArdPicProgHost) with a Windows based graphical user interface. The source code for both programs is Open Source and would be available for download on github.

Arduino Pic Programmer (ArdPicProgHost)

This windows application offers a modern and intuitive way of programming a pic controller.

Controllers which are supported by the Arduino Pic programmer can be read, erased, and written. The user interface and the program options are also described in the User’s Guide.

ArdPicProgHost was programmed with Microsoft VB2010 Express and is released under a GNU General Public License Version 3. The source code is provided through a github repository. The executable (Release 0.2.7) can be downloaded here:

The software does not require any installation. After downloading and unzipping the program can be executed right away.

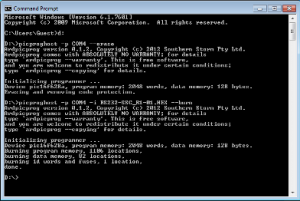
PicProgHost (terminal program)

You could also employ the host application “PicProgHost” for programming pic controllers which offers a terminal interface. The application is based on the open source Ardpicprog host software you would find on the ArdpicProg project pages. These pages also provide for a suitable documentation of the program operation.

The original source code has been migrated to a Qt 5 environment and the most recent version is now capable of handling COM ports > 9. The can be downloaded here:>

The source code is available on github. The line commands are fully backwards compatible to Ardpicprog – therefore please refer to the ArdPicProg project pages for more information.

There is no program installation required. The user interface is also described in the User’s Guide.

Arduino sketch “ProgramPic”

The “ProgramPic” Sketch which is required for using the Arduino ArdPicProg shield is released under a GNU General Public License Version 3 The sketch is provided through the ProgramPic github repository.

ArdPicProg printed circuit board

The ArdPicProg PCB is available in the shop.
RC with your web browser – more intuitive and more agile

In previous blogs related to RC with a web browser I presented solutions which were suited for simple and none time critical applications due to the user interface and the system response time.

The initial concept of a button based user control was relatively slow because the web page had to be re-transmitted and rebuild on the client side after each user interaction.

The improved “joystick”-based interface was already deploying AJAX to improve the system agility. However, in order to initiate a command you would have to touch the screen and to stop the movement you would have to touch the screen at another location which is not very intuitive. You would probably expect a movement to last as long as you touch the screen.

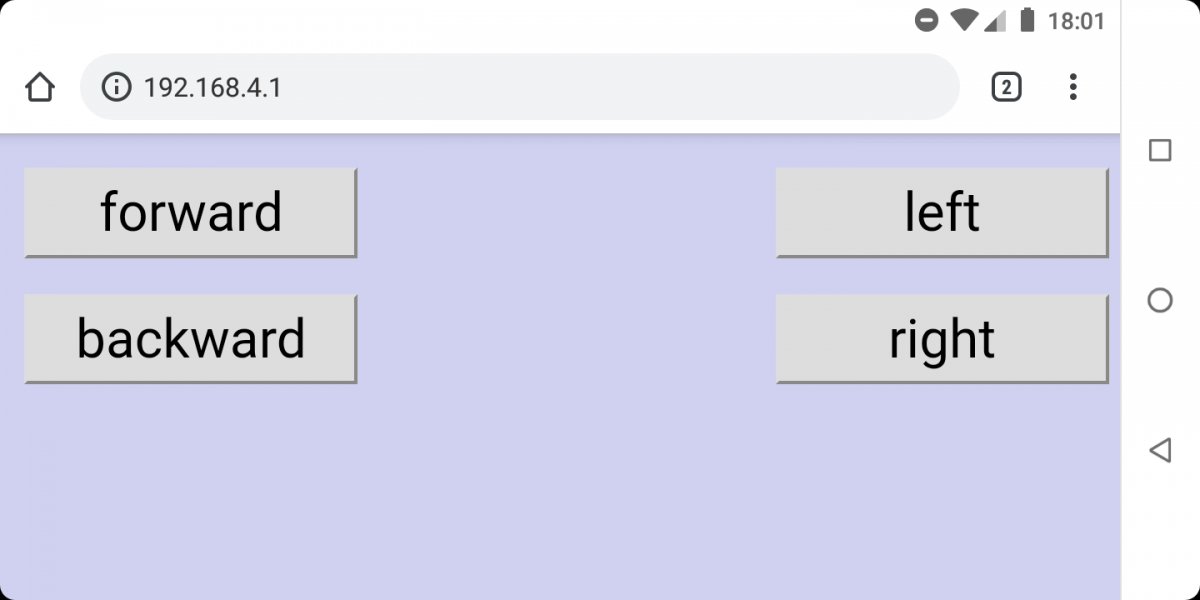
The latest version of httpRC presented here does address both requirements based on a button based UI: a command is executed only as long as you touch it in a very agile way.

The source code for the ESP8266-01 is provided through github and the programming itself can be done via the programming adapter described earlier.

Additional information regarding the receiver kit you would find on the respective PiKoder page.

Control your Ardupilot Mega Rover with your Android Smartphone (III)

Overview

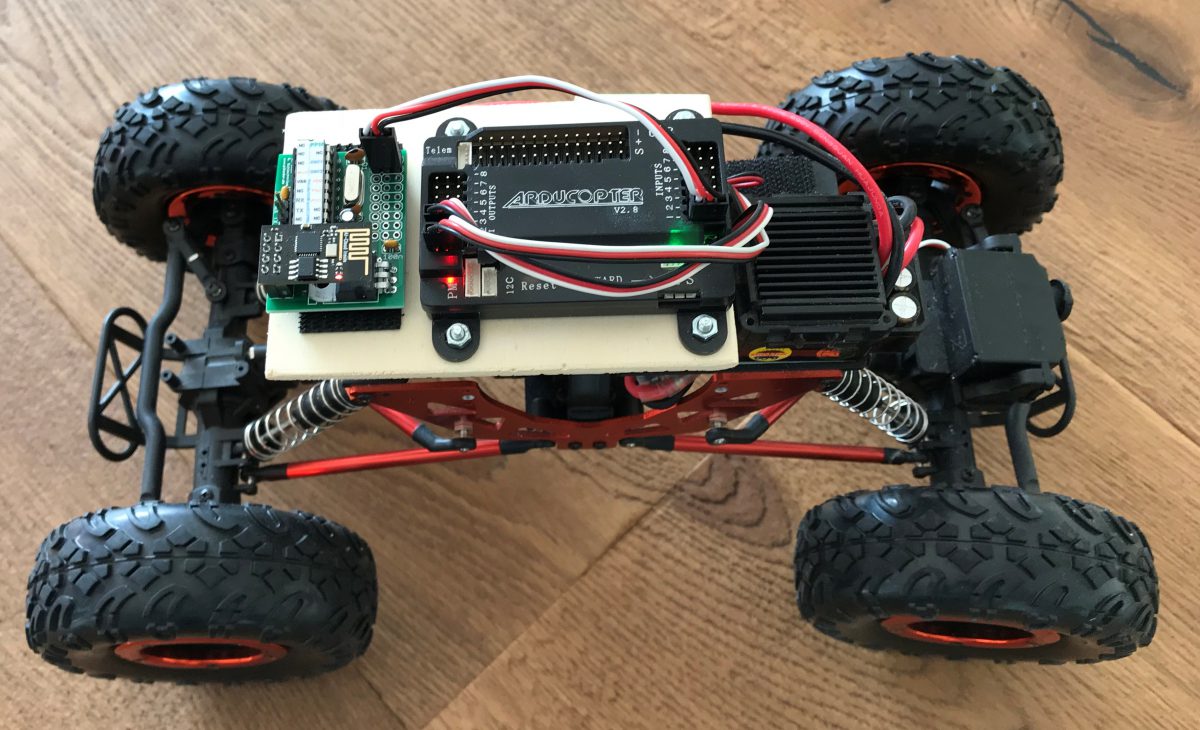
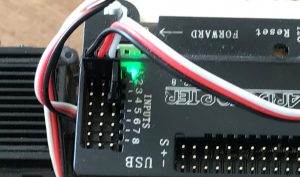
The Ardupilot Mega (APM) and other flight controllers are frequently controlled by a PPM stream rather than the parallel input per channel which I described in part 1 of this blog. The new PiKoder/PPM wRX receiver with its PPM frame output brings this capability to you. The connection between the receiver and the flight controller is reduced to a single 3 strand cable as shown in the featured image.

Description

The PiKoder/PPM wRX receiver will be controlled by the udpRC4UGV App as described in part 2 of this blog.

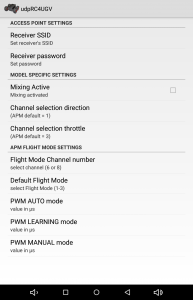
The feature set of the app has been extended to allow you to freely determine the position of the direction and throttle channel within the PPM frame through the app preferences.

To change the channel setting please select the respective preference and enter the channel number (1 .. 8). E.g. the APM Rover configuration features direction on channel 1 and throttle on channel 3.

Please note that setting the APM’s input mode from parallel to PPM requires a jumper between channel 2 and channel 3 input as shown below.

Control your Ardupilot Mega Rover with your Android Smartphone (II)

Overview

As already indicated in the previous blog on the topic “Ardupilot Mega Rover with the smartphone remote control“, now, after some further work on the topic, a new Android(TM) app “udpRC4UGV” with rover-specific functions is available. The most important enhancements are the selection of the flight mode and the toggling of channel 7 making a number of APM special functions available.

Description

As outlined in the previous blog a PiKoder/SSC wRX receiver replaces the standard RC receiver in the rover. The smartphone RC uses WLAN for command transmission: the PiKoder does offer an access point (AP) to which the smartphone will connect.

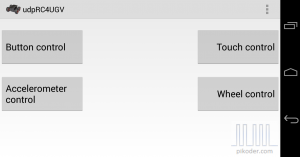
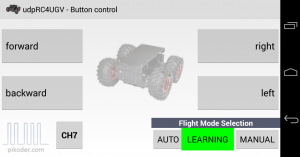
The remote control app offers a variety of user interfaces: from simple key control to a virtual joystick to an accelerometer-based option.

In addition to the general controls for remote control, each user interface also offers the possibility to choose the flight mode. In addition, channel 7 can be triggered via the “CH7” button (for example, in LEARNING mode, the current position is saved as a waypoint).

The app is available free of charge from the Google Play Store. The User Manual can be downloaded from the PiKoder website; it describes not only the program operation in detail, but also the hardware setup.