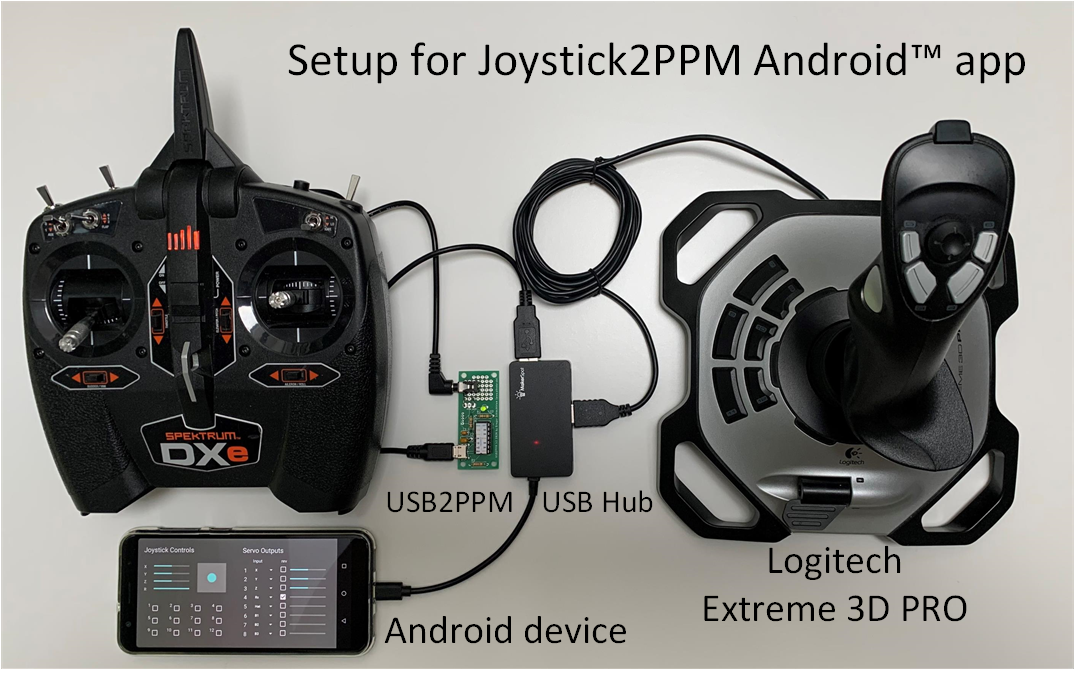
The first entry in this series used a notebook to translate the joystick inputs into commands for the USB2PPM. Alternatively, an Android (TM) smart device with a corresponding app can be used for selected joysticks.
The hardware structure in the title picture is the same as the configuration in the Part 1 Except for the computer, which is replaced by the smart device, and the hub: a USB OTG hub must be used in conjunction with the smart device.
With regard to the preparation of the remote control transmitter, the same considerations for ergonomics apply and it is advisable to expand the remote control with a switch as described in Part 1.
With regard to the app itself, you can choose between the free app Joystick2PPM and a special app for quadrocopters Joystick4UAV (see below); you can find both apps in the Google Play Store.
Joystick2PPM (Android App)
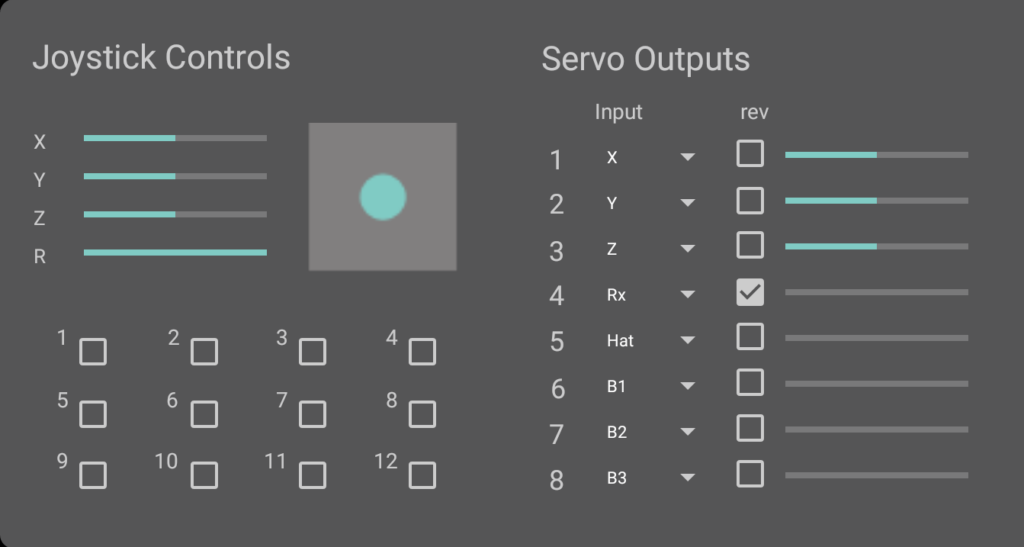
The user interface of the app largely corresponds to the Windows implementation and is intuitive and easy to understand. The joystick controls are on the left and the servo channels are mapped to the right with drop-down boxes.
The joystick and the USB2PPM are automatically recognized after starting the APP. When using the application for the first time, the user must enable access to the corresponding USB interfaces.
Please note that the app currently only supports a limited number of joysticks and other operating devices. The current list of the compatible devices can be found in the Playstore at any time.
Joystick4UAV (Android App)
The Joystick4UAV app is an advanced version of the Joystick2PPM application, which is geared towards the needs of remote control of quadrocopters or other vehicles (UGV) and boats (USV) with a flight controller.
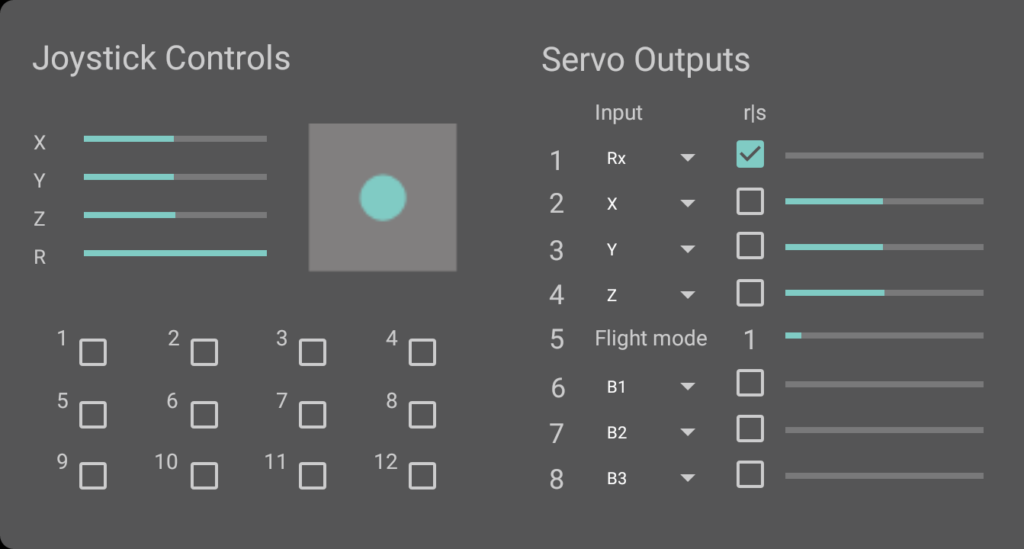
The basic structure of the Joystick4UAV corresponds to the apps already described. The four joystick axes are mapped to the remote control channels 1-4 according to the usual assignment for flight controllers. You can of course adapt this assignment within the four channels according to your preferences. All channels can be inverted by checking the associated box.
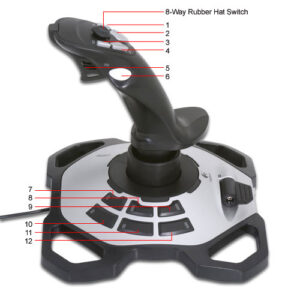
The flight mode is coded in channel 5. There are six modes available. The flight mode selection takes place by pushing the joystick buttons 7-12 (see figure below right), where button 7 sets flight mode “1” and button 12 sets flight mode “6”. The selected flight mode is displayed numerically (“1” in the picture above) and the bar corresponds to the transmitted channel value. 
The remaining buttons 1-6 (button B1 .. B6 in the upper area) and the hat switch are available for special functions and can be assigned to channels 6-8 as required. If the box belonging to the channel is activated, the button behaves as a switch.
Please note that only the Logitech Extreme 3D Pro joystick is currently supported in the app.


